Sorry I got so excited about the ease of the OTA is didn’t see the context of your question 
You are talking about this one?
Yes, that is the one.
That is the one I flashed TASMOTA to.
Now trying to get ESP_EASY to flash.
Flashing tools did not work, so trying arduino IDE instead.
But I am having arduino issues right now.


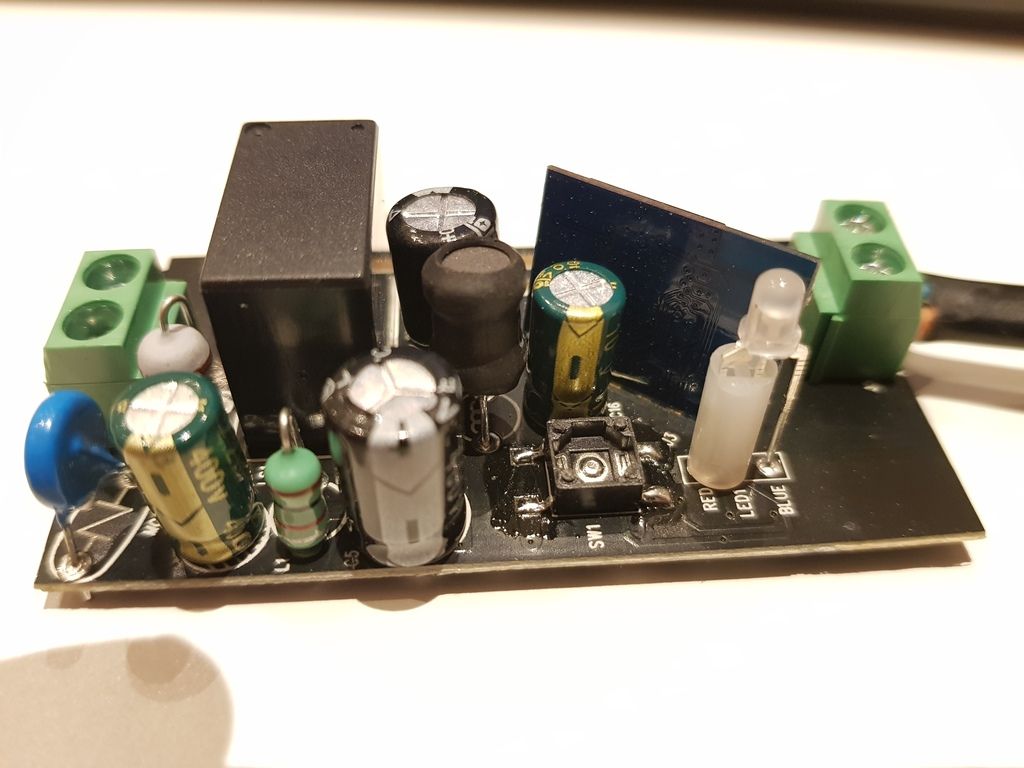
Looks like there is a “normal” esp chip connected, so you should be able to connect/solder +3V, TX, RX, GND on the chip directly even if there’s are no pins 9n the pcb.
Can you post a side view or tell us what esp model is used there. It should be printed on the top of it.
It does not have to really be a Sonoff, but an ESP8266 based device (which it is) - the sideways looking module is the ESP8266 with very small memory.
Unfortunately, i am struggling to get ESP-easy to flash (the esp-easy guys say it should work, but I cannot find anyone who did it before).
But I definitely flashed TASMOTA.
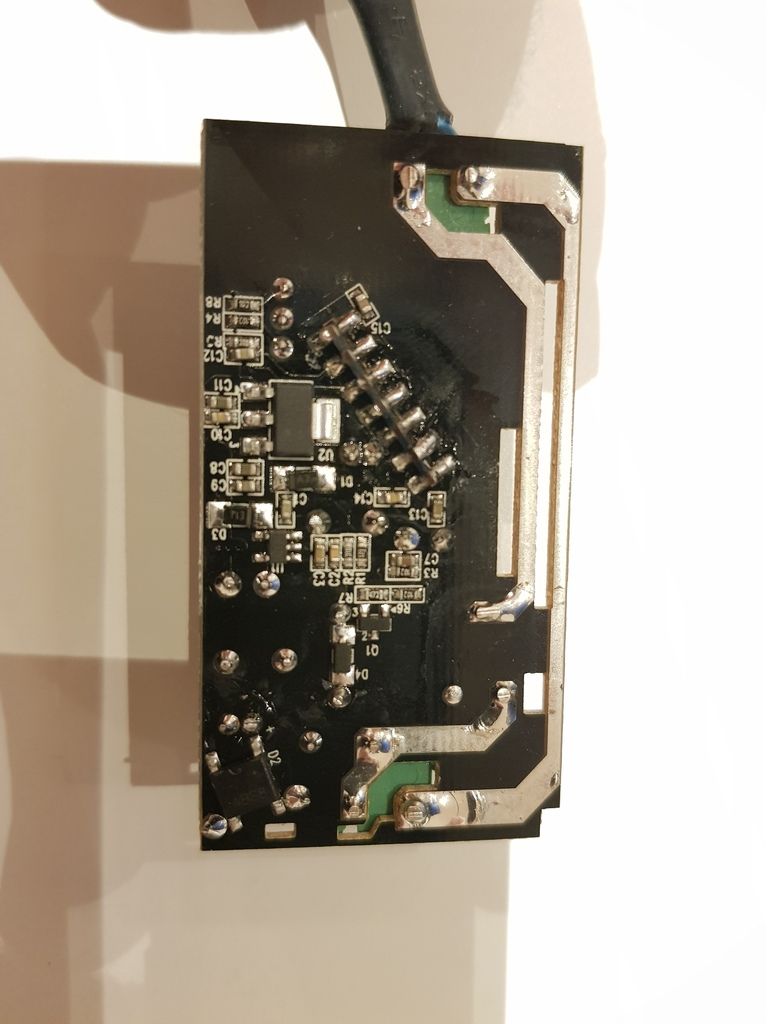
You need to wire-up 4 wires for 3.3V, GND, UTX and URX.
GPIO0 needs to be connected to GND to put it into flash mode.

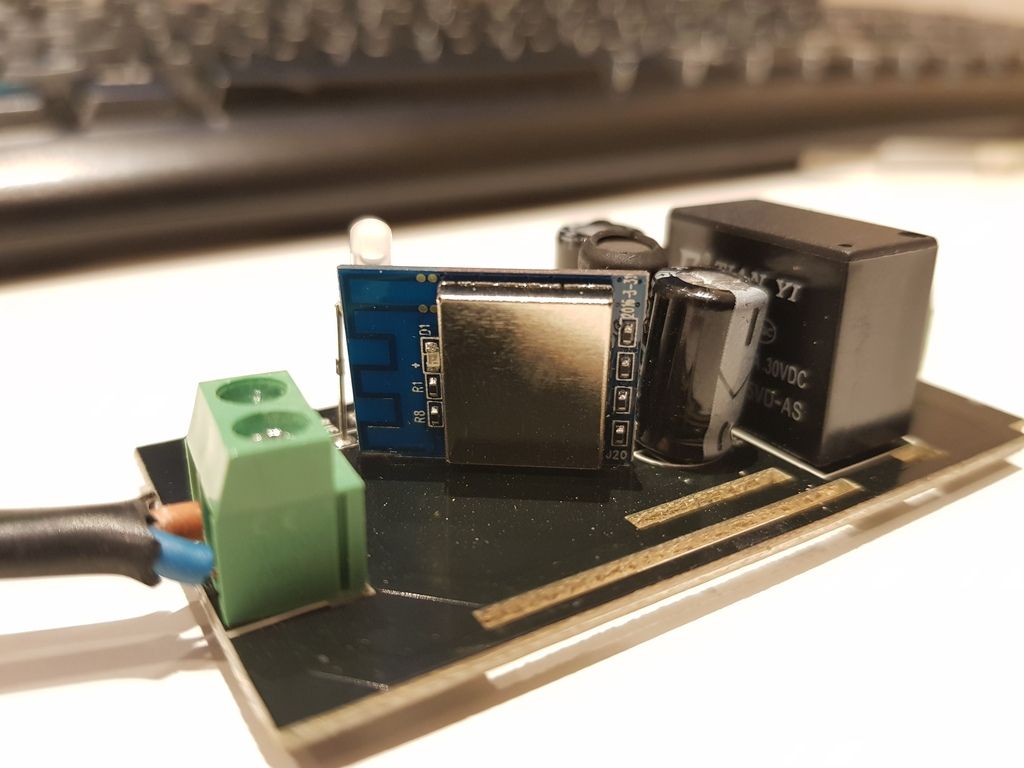
It is an ESP8266-S3:
Thanks for the detailed answer. That’s more help than i can provide without the hardware in front of me. 

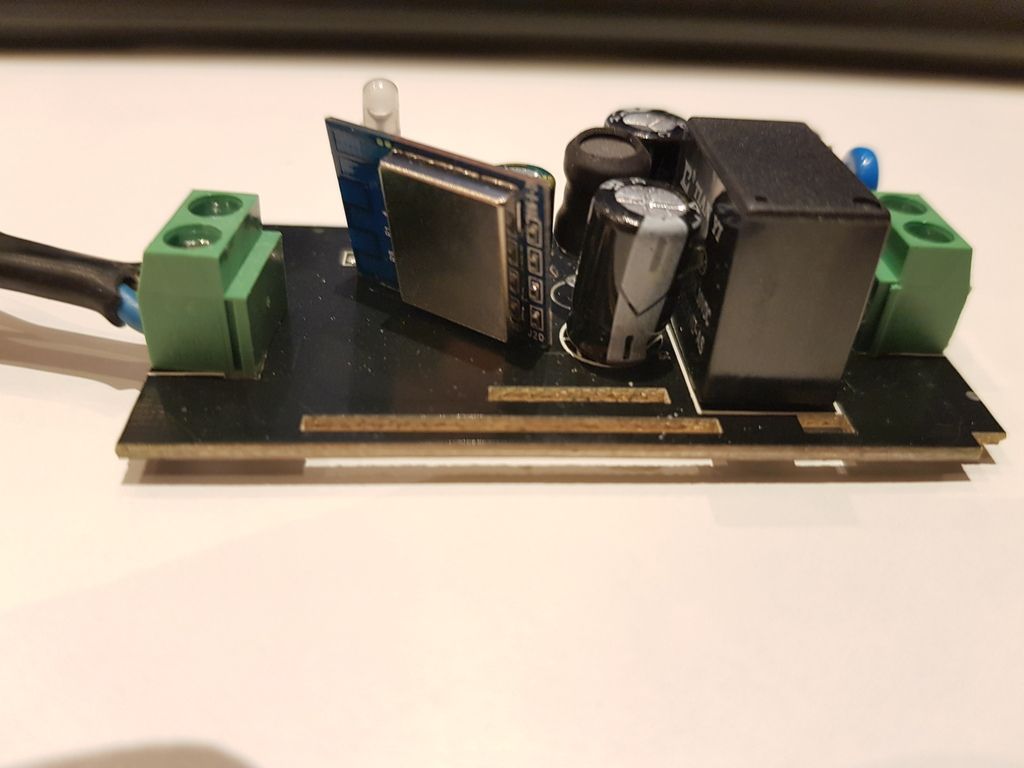
I hope you remove the programming wires before using it in earnest.
The slot in the PCB through which they pass is an air gap to separate the low voltage and mains voltage areas of the board.
Could you tell us which color is for what?
3,3V: ??
GND: ??
UTX (TRN): ??
URX (RCV): ??
and where is GPIO0?
In my setup:
Red is 3.3
Brown is GND
Orange and Yello are TX/RX (not sure which is which).
Green is GPIO0.
However, a few posts before I added a link to the datasheet, so it is possible to figure it out too.
On the other hand - if anyone manages to flash ESP-Easy, please tell me how.
FYI - I flashed it with ARDUINO.
You need to use -DOUT mode to flash it.
@NDR008: Thank you… Also for the hint with the manual 
I will try this evening or tomorrow flashing with ESP_Easy, because the modul I got almost for free. I’ll report.
Regards
Michael
Gave it a go yet?
Instead of asking for help I will contribute.
After I have spent 3 evenings installing OpenHab I found it useful to post my own guide, and highlight parts I’ve spent most of my time on:
Project. Sonoff S20 - OpenHab2 - Siri integration
- Openhabianpi is installed on Raspberry Pi as per instructions (easy, no troubles, instruction is clear)
- Install drivers for USB-to-Pin adapter (CP2102 in my case)
- Flash Sonoff S20 as described here
- Install Mosquitto
- Set-up MQTT on Sonoff as per instruction
- Note ClientID should be different from one you give in 5.
- Host should be external IP address (to check this, do following from terminal):
ping openhabianpi
- Install Homekit addon, but change port number to 51826 as suggested here
- Install Openhab cloud
Till now no success with flashing TASMOTA
Using PlatformIO and Arduino. Sketch will be compiled, but uploading hangs. If I start the module in normal mode, I see something on the Serial Monitor, but only garbage.
Speed is 115200. Is this correct? I also set the mode to DOUT
In Arduino I select “Generic ESP”
I am having issues to reflash too even though I managed last time.
Check your Arduino settings against this:
Describe the hangs too.