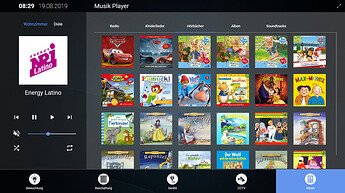
Since I built my second touch panel recently, I wanted to share my project and post some details about it.
One of my goals has been that it needs to be at least a 15" touch display and of course the price should be right. So first of all I took a look at some Android driven tablets with 15" display or above - I just found one suitable device on Amazon. But this one had some disadvantages, the biggest one the already outdated Android version. So I decided to do something differently and use a system, I can control and maintain.
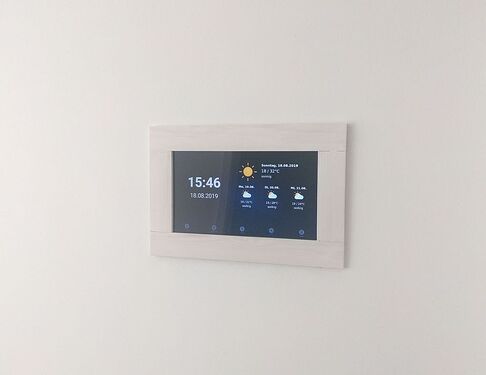
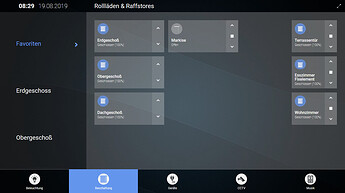
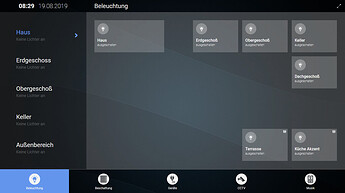
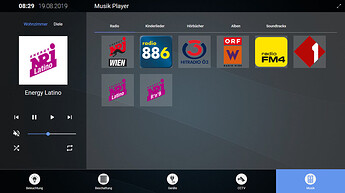
First of all, some pictures of the final state with my different UI tabs (the wooden frame is not perfect, but nice enough for me at the moment).
Some details
I used following parts for this:
- Raspberry Pi 3B+ (out of convenience a kit with all accessories): Amazon.de
- Asus VT168H 15,6" touch monitor: Amazon.de
- some wood for the frame
- screws, brackets, magnets, …
The overall costs have been around 250€ (~150€ the touch display, ~60€ the raspberry kit, other small parts). So for this price range, I’m more then happy about the outcome, mainly because I can maintain, update, change the system as I want and I’m not depending on the goodwill of some hardware manufacturer (e.g. Android upgrade …).
During building my house, I already made 2 square holes into my walls where some cables ended (power, KNX, CAT). So for my first touch monitor on the ground floor, I just mounted the display onto the VESA mount inside the opening and put the Pi in the back too. The wooden frame has been then mounted in the front, but this left some gap between the monitor and the frame and didn’t look that nice.
So for the second one, I disassembled the display and removed the case. Luckily the touch display had some mounting brackets where I could screw it to the frame.
So with this, I had no gap anymore and the frame fits perfectly to the display. The display itself is very light, so I could just mount the frame with the help of strong magnets to the wall (for easy access).
The used Pi is also mounted on the wall inside the opening. All I needed now, was to plug the cables in.
The touch interface
On the shown touch panel, I’m currently using FullPageOS (GitHub - guysoft/FullPageOS: A raspberrypi distro to display a full page browser on boot) and the displayed page is a self-made web interface (developed with the Angular framework https://angular.io/). This one is served via a docker container (nginx) on my Synology NAS. openHAB itself is also running inside a docker container on the same machine.
On my first touch display, I’m still running a Raspbian, since back than FullPageOS didn’t support the touch events that handy. At least I couldn’t get it to work properly. On this one I’m also having a Pi cam connected which is activated if I’m not at home - still have to test if this works under FullPageOS, so I could switch to this too.
The display itself can be turned on/off or restarted via mqtt events, triggered by various events in my household with the help of openHAB (e.g. motion detector, via smartphone, time based …). With this, the power consumption is not that high, especially as the touch display doesn’t consume that much energy anyway. I haven’t messured it, but regarding the datasheet it takes 7W which would be ~15€ per year if it would be on 24/7. With the display off (0.5W) it’s even lower since it is turned off in the night and if nobody is at home. Same goes for the Pi which has no high consumption either, unfortunately it has no WoL, so it needs to run all the time though.
So this is it. If someone wants to get more details I’m happy to answer them of course.
